
Exporting an xLights Project from Light Show Creator
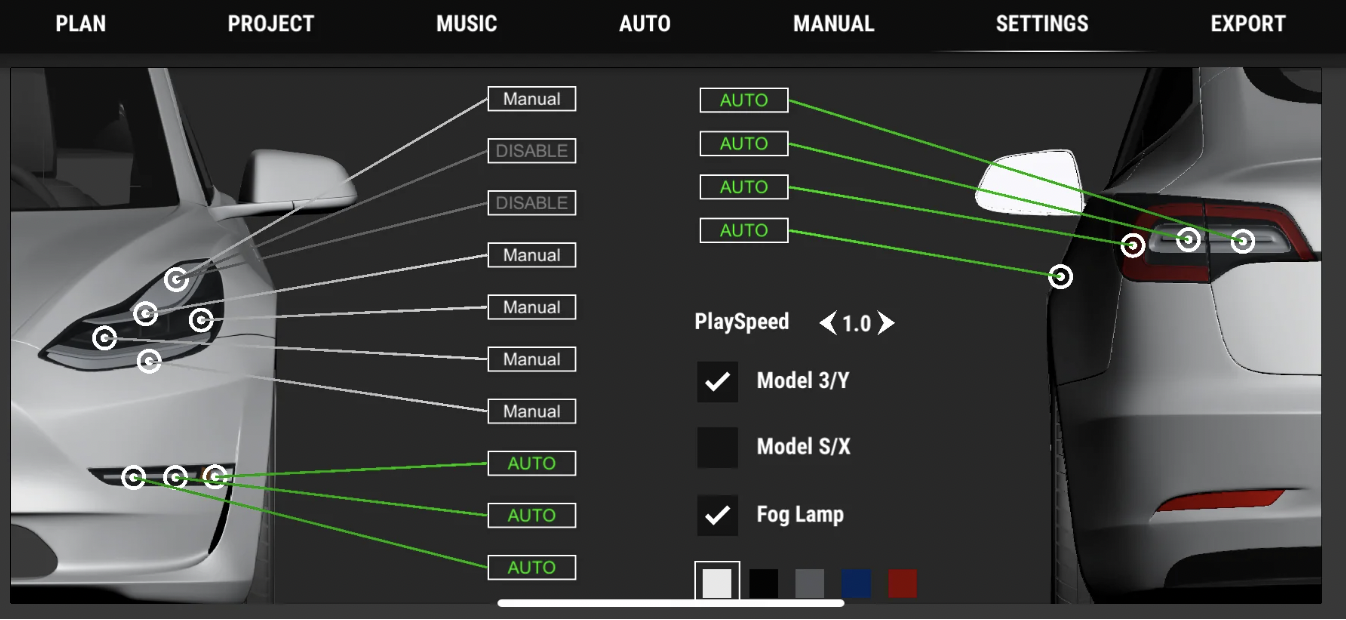
Here is a practical guide to exporting an xLights project from Light Show Creator so you can personalize your Tesla light show further. xLights can create impressive custom shows, but editing them can be laborious. I built Light Show Creator to make that process easier with automatic generation.
Some users asked for an xLights-style timeline editor. After considering it, I decided that Light Show Creator should remain playful and simple. A timeline would add complexity, and a phone cannot offer the same precision as a desktop editor. Instead, I added XSQ export so that users who need finer control can continue in xLights.
Export and open the project
-
Import your music into Light Show Creator and create a show in automatic or manual mode. Export it to obtain three files:
lightshow.wav,lightshow.fseq, andlightshow.xsq. Copy all three into the same folder on your computer.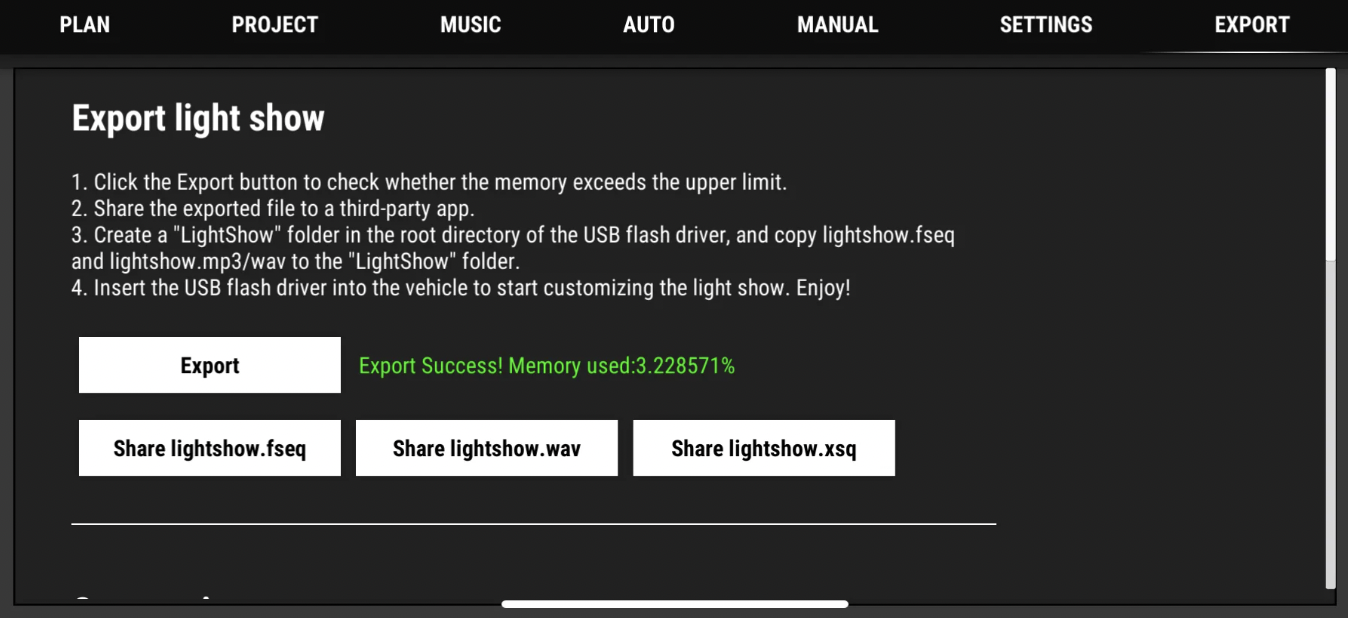
-
Open xLights. For the workflow described in this 2023 guide, use the matching Tesla project files. The app’s XSQ export was adapted to Tesla’s April 27, 2023 revision, available here:
-
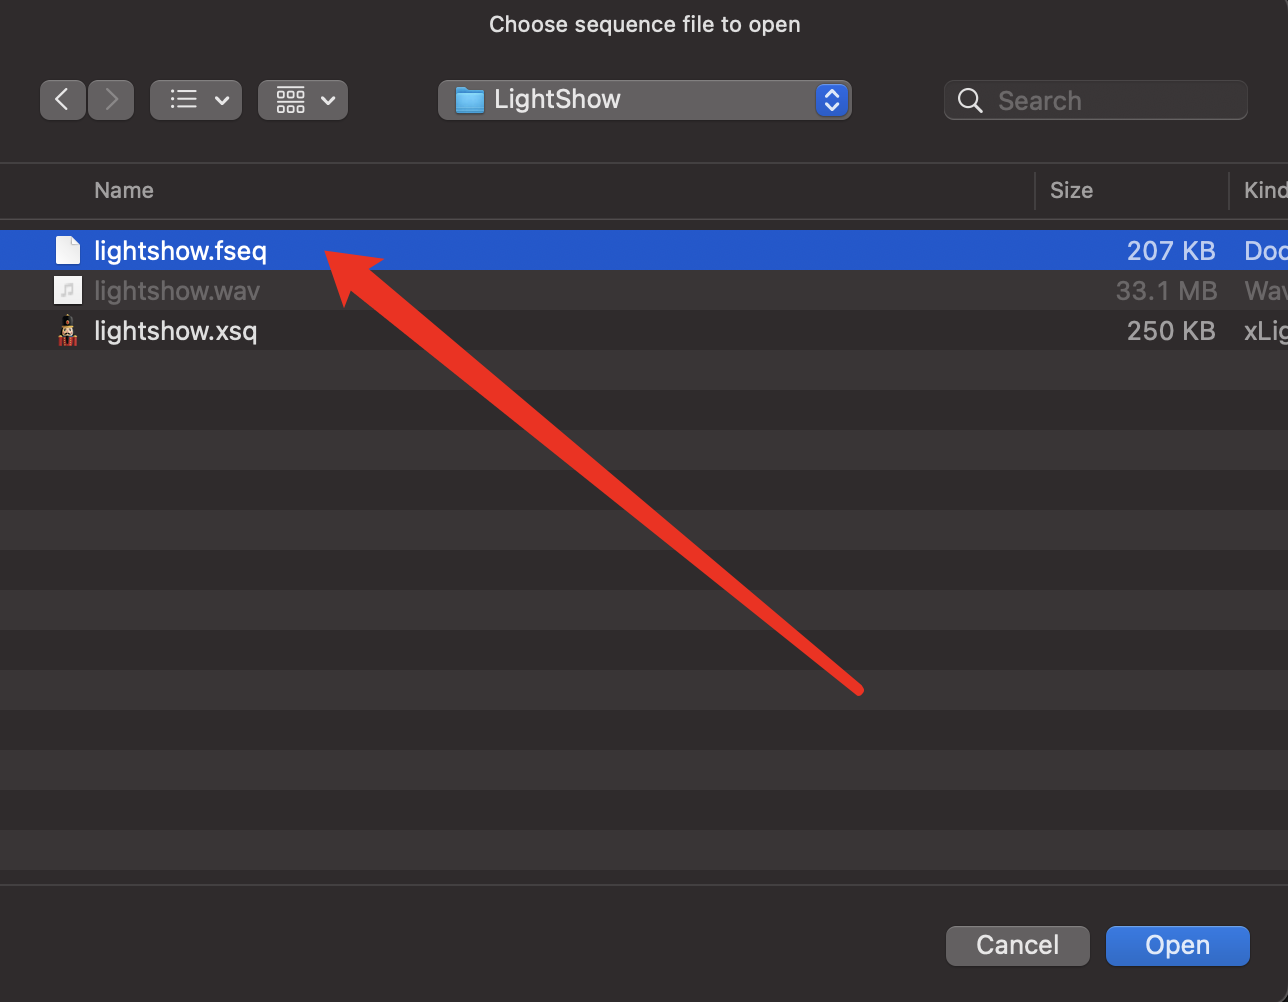
In xLights, choose File → Open Sequence and select the exported
lightshow.fseq, notlightshow.xsq. Choose OldView from the View dropdown. The generated frames should now appear, ready for more detailed editing.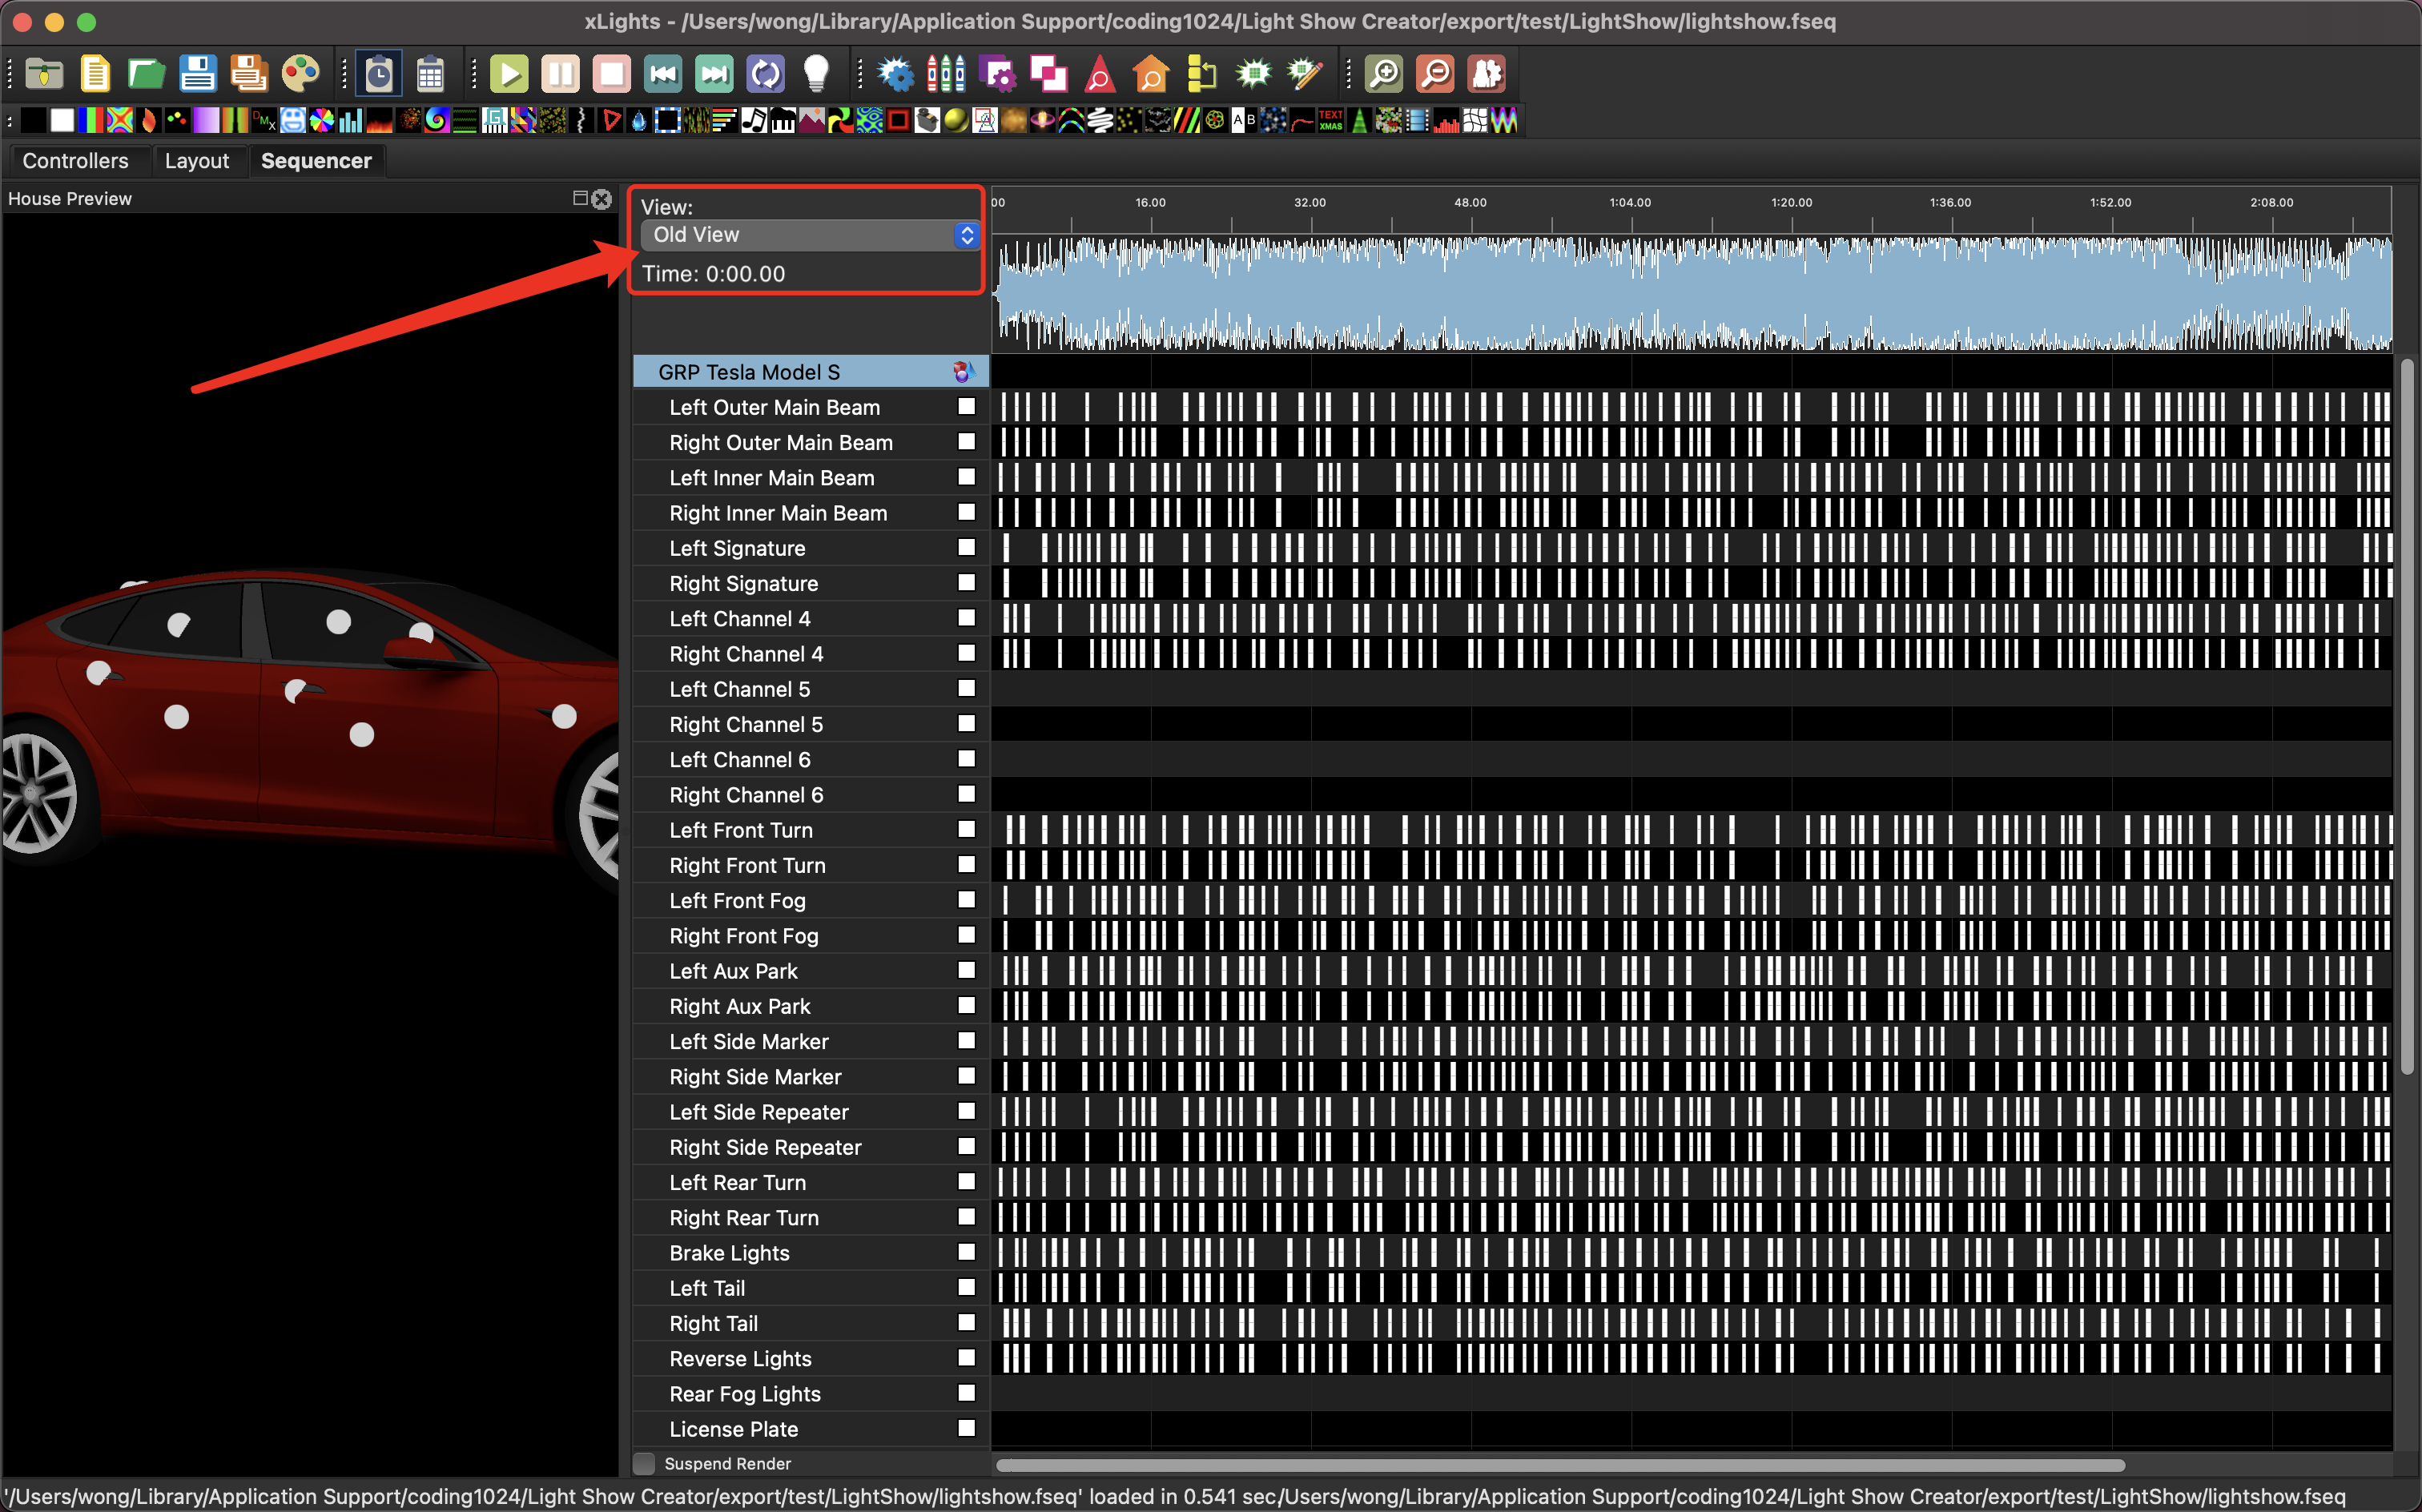
Troubleshooting
- Keep all three files—MP3 or WAV, FSEQ, and XSQ—in the same folder.
- Use the 2023 Tesla project files referenced by this guide from Tesla’s GitHub project. The 2021 files may be incompatible with this export workflow.
- Select
lightshow.fseq, rather thanlightshow.xsq, when opening the sequence. Opening the wrong file can produce warnings and lose data.
I hope this helps you enjoy making your own Tesla light shows. If you run into problems or have ideas for the app, feel free to get in touch. I look forward to seeing what you create!
Comments
Questions, ideas and experiences are welcome. Please be kind and avoid sharing private information.
Loading comments…