
Light Show Creator User Guide
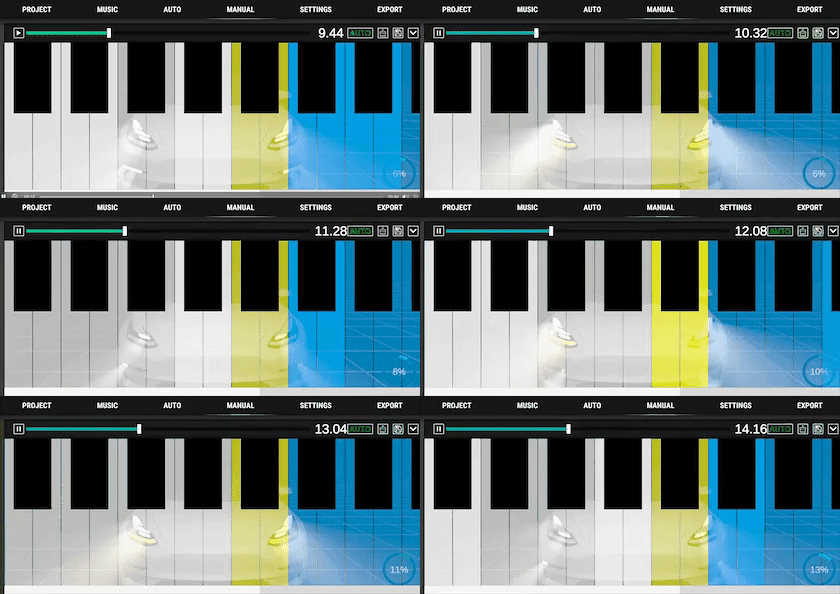
Custom Light Show is one of Tesla’s fun features. Light Show Creator is an app for making your own shows quickly and easily. If that sounds interesting, give it a try:
USB-drive requirements
- Include a folder named
LightShowat the drive’s root. You can extract it from the project’sLightShow.zipdownload. - Format the drive as exFAT, FAT32 on Windows, MS-DOS FAT on Mac, ext3, or ext4. NTFS was not supported in the setup described in this guide.
- Do not place a
TeslaCamfolder at the root of this drive.
Tesla’s official guide: https://github.com/teslamotors/light-show
Create a project
Open the Projects page, tap New Project, and enter a project name.
Import music
The app supports MP3 and WAV. I recommend WAV where possible, because some MP3 files can cause problems.
Android
Select an MP3 or WAV file no longer than five minutes directly from the filesystem.
iOS
There are two ways to import music:
- Share a music file from another app to Light Show Creator.
- Copy the file into the LightShowCreator directory.
To import by copying, use Apple’s Files app. Install it from the App Store if it is not already on your device.
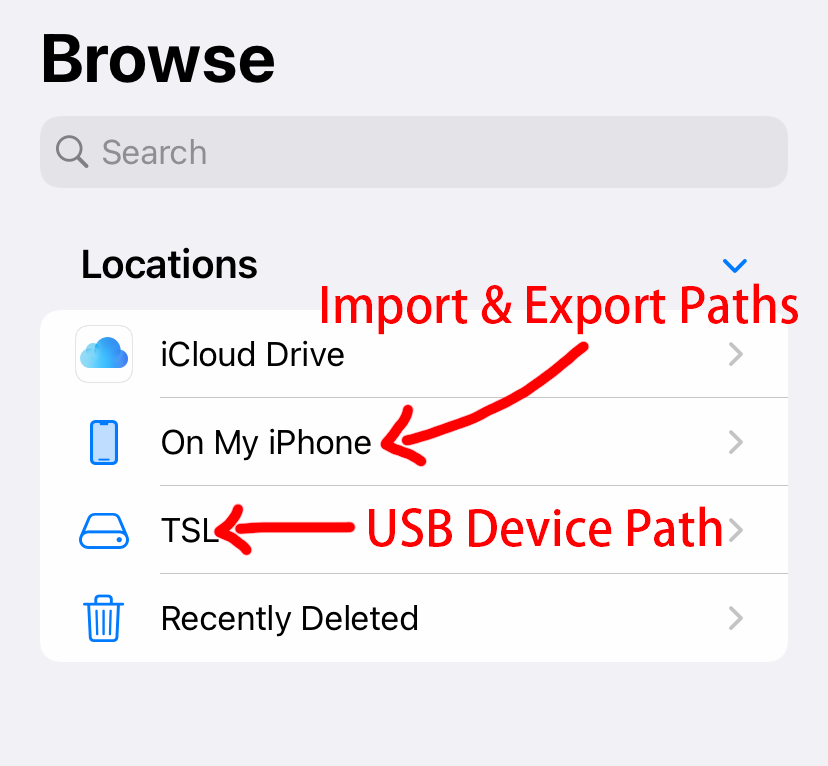
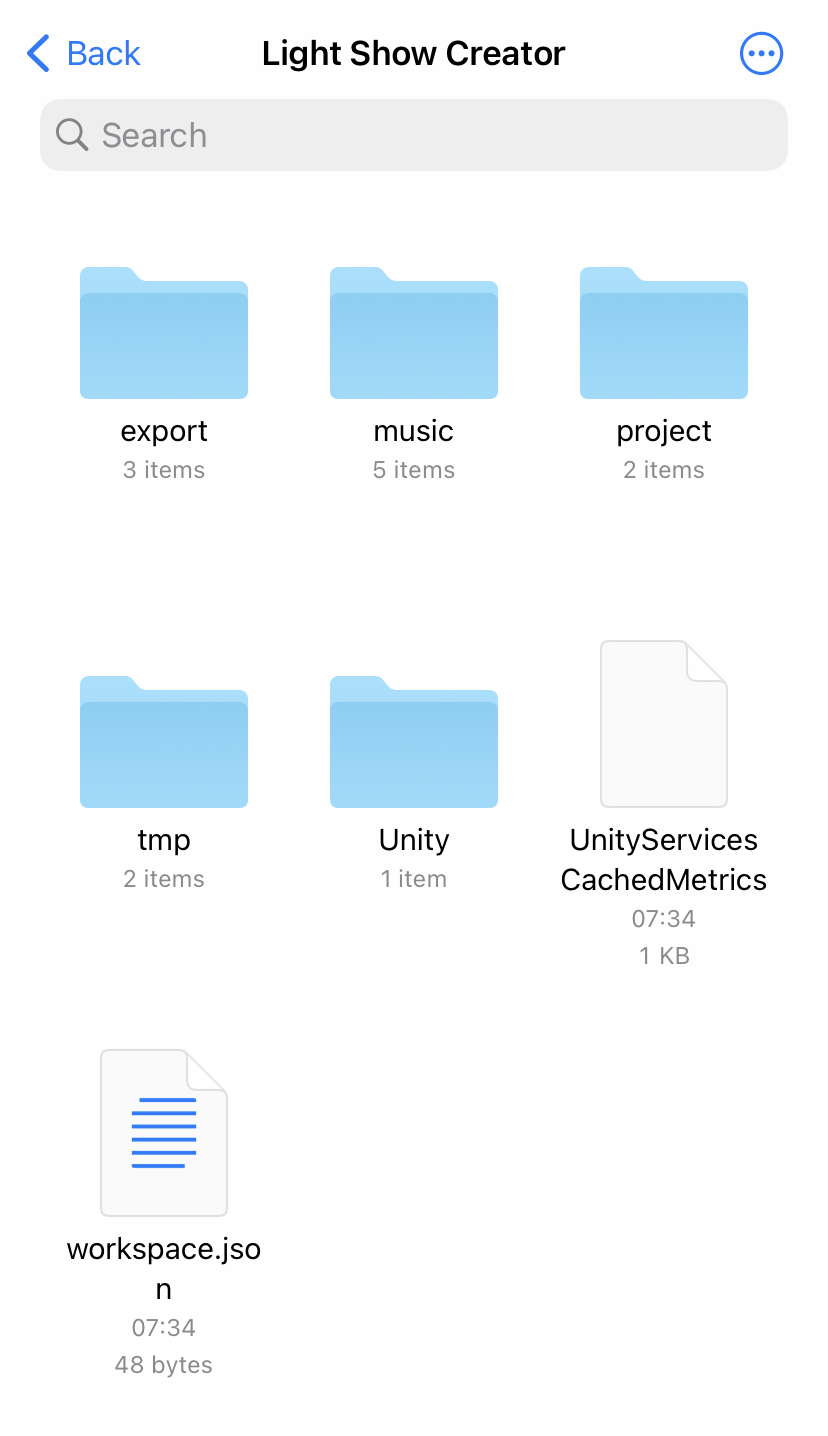
Open Files and tap On My iPhone.
Open the LightShowCreator folder.
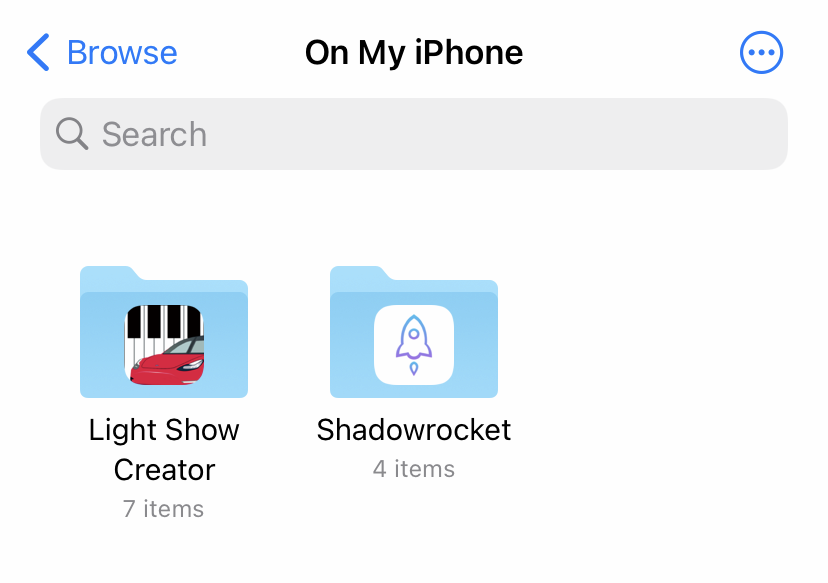
Inside it, the music directory stores imported audio. Copy your music there.
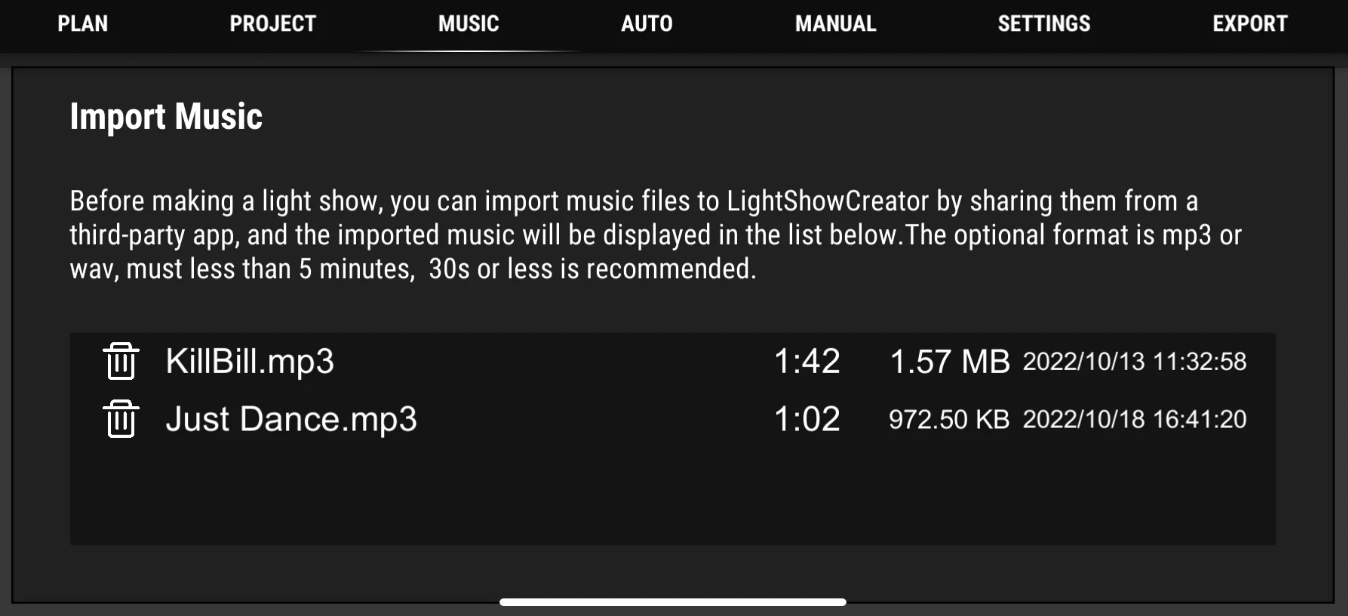
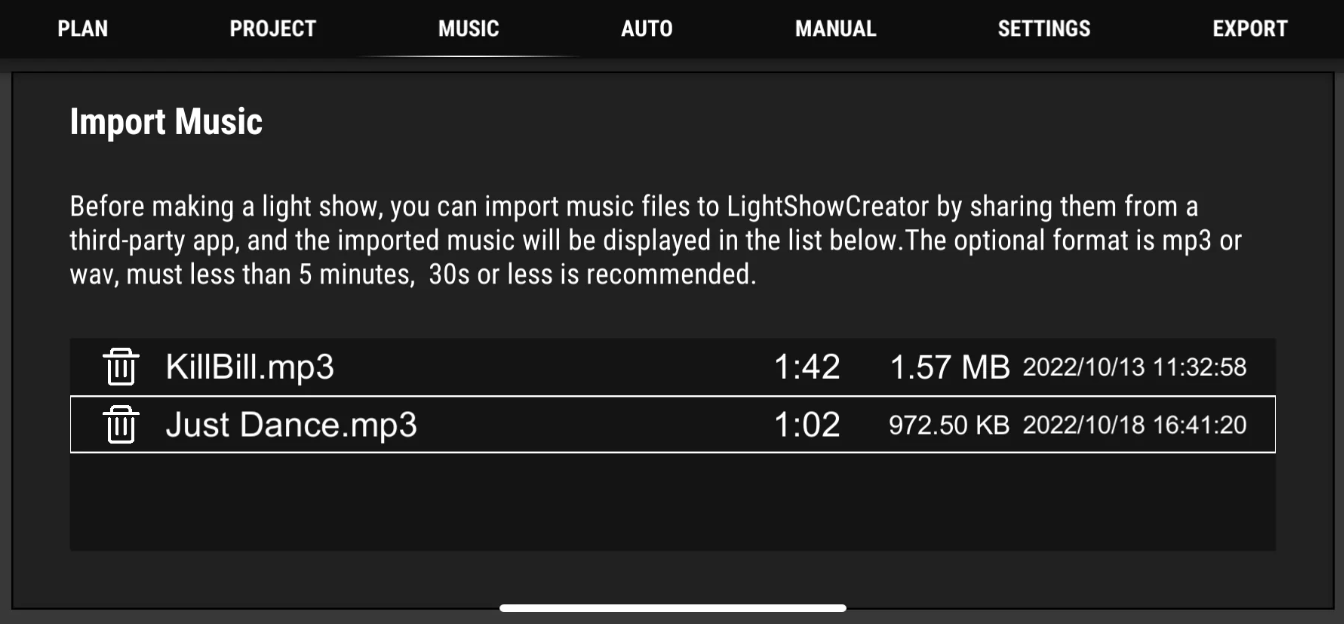
After sharing a file, iOS switches to Light Show Creator. Open the Music page; the selected track should appear in the list within a few seconds.
Share music from another app
You can use a third-party app that supports file sharing, such as OneDrive, Google Drive, or Dropbox.
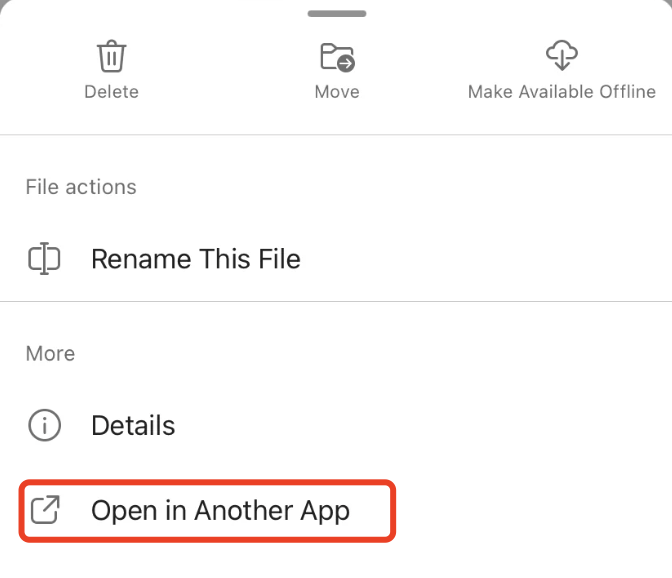
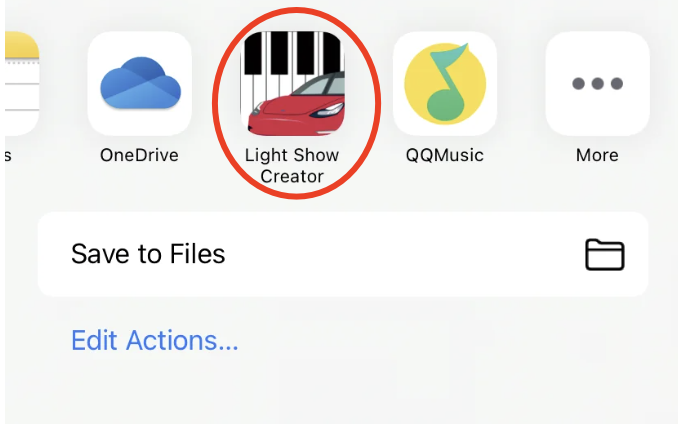
Choose Open in another app, then select LightShowCreator.
The track will appear in the list. Tap the track you want to use to complete the import.
Use automatic mode
Turn on the Auto button. The lights will respond automatically to the music.
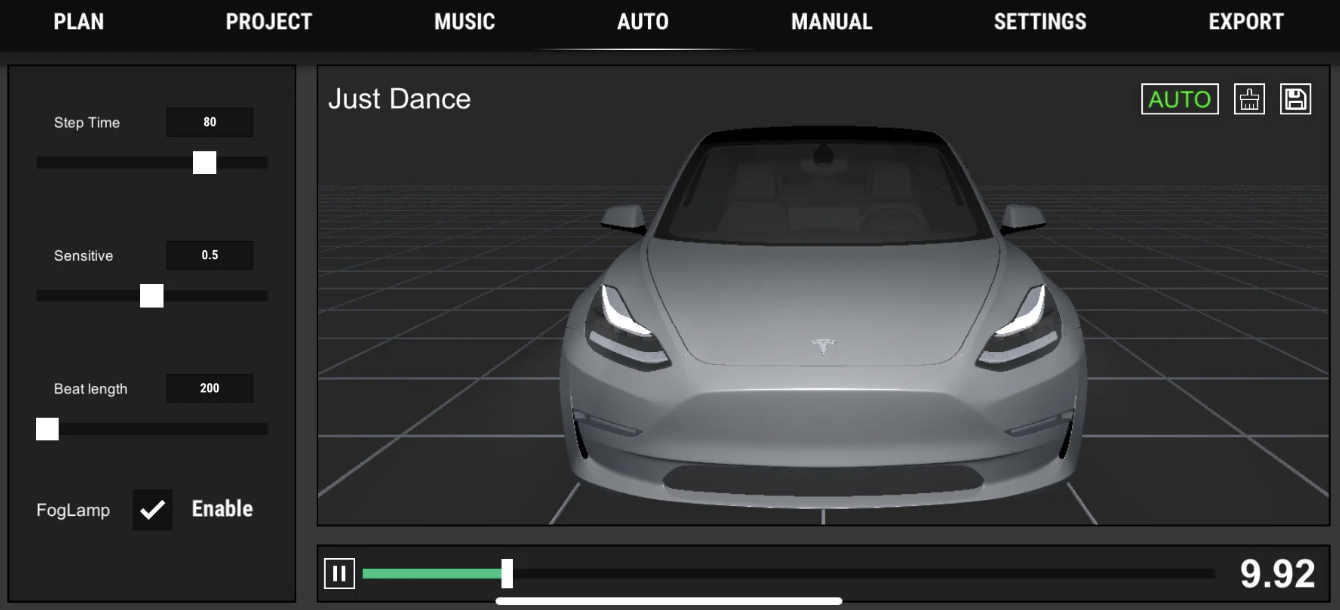
You can adjust several settings:
- Step time: the duration of each frame. Longer frames use less memory.
- Rhythm sensitivity: how sensitively the lights respond to the music. Lower sensitivity should generally use less memory.
- Beat duration: the maximum duration of each light activation. Longer durations use less memory.
- Fog-light switch: turn this off for the Standard Range Model 3 and Model Y configurations without front fog lights described in the original guide.
Use manual mode
Manual mode allows more personal editing, much like playing a piano. Each pair of symmetric lights forms a group. Black keys activate both sides; white keys activate one side.
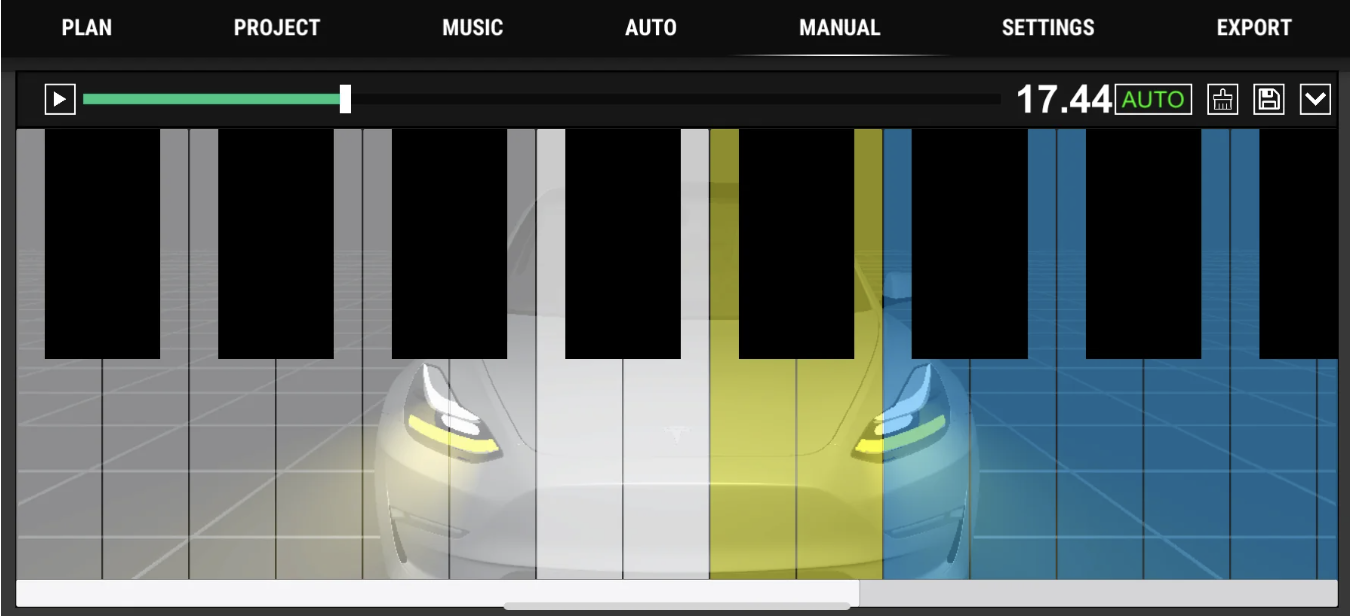
You can also run automatic mode while recording manually, leaving you to control just a few key lights yourself.
Export a light show
Exporting uses sharing, just like importing music. Send the exported files to another app; OneDrive is used in this example:
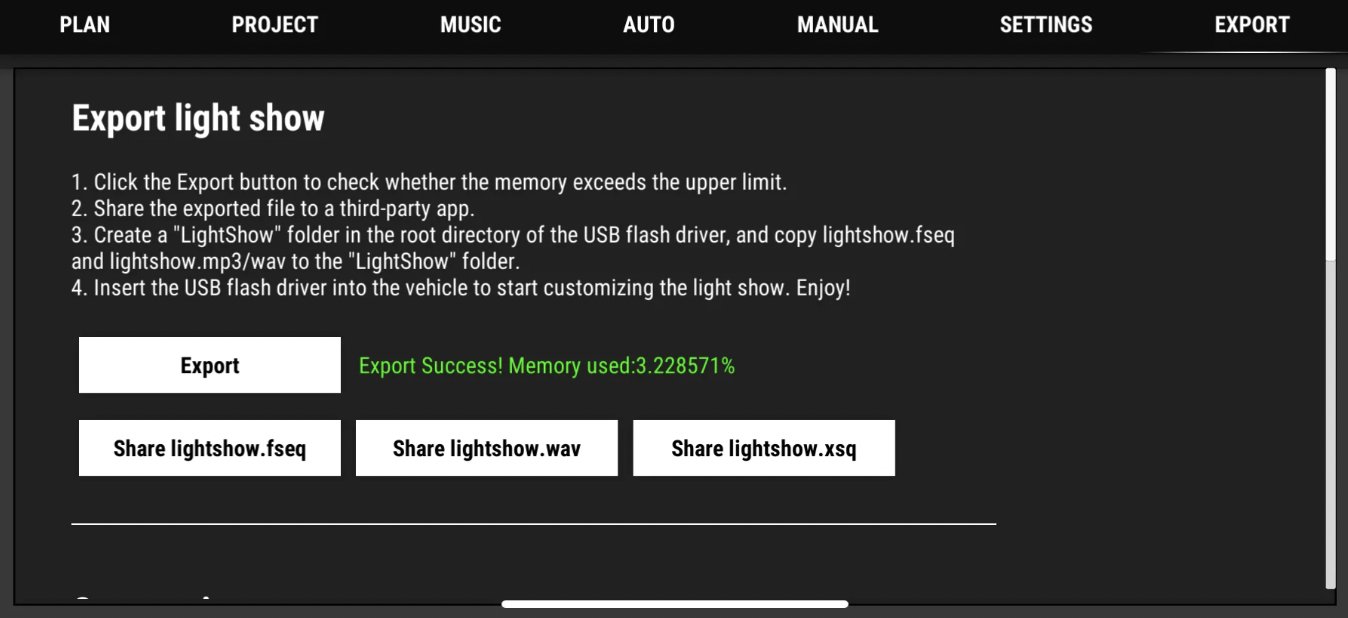
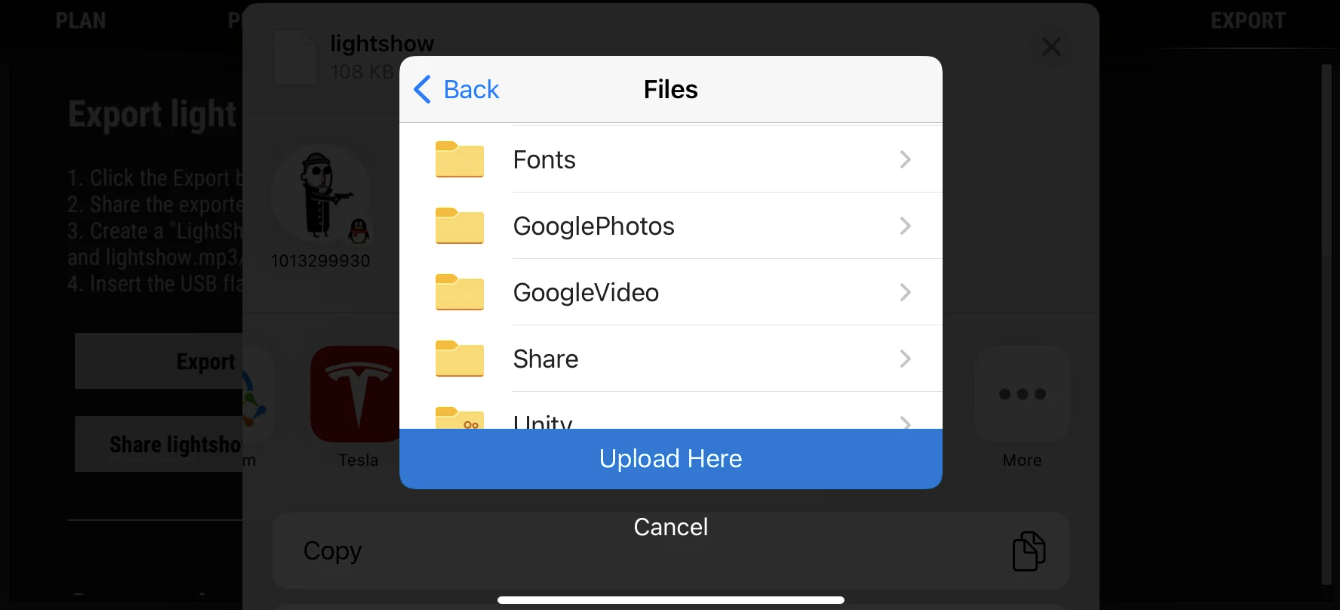
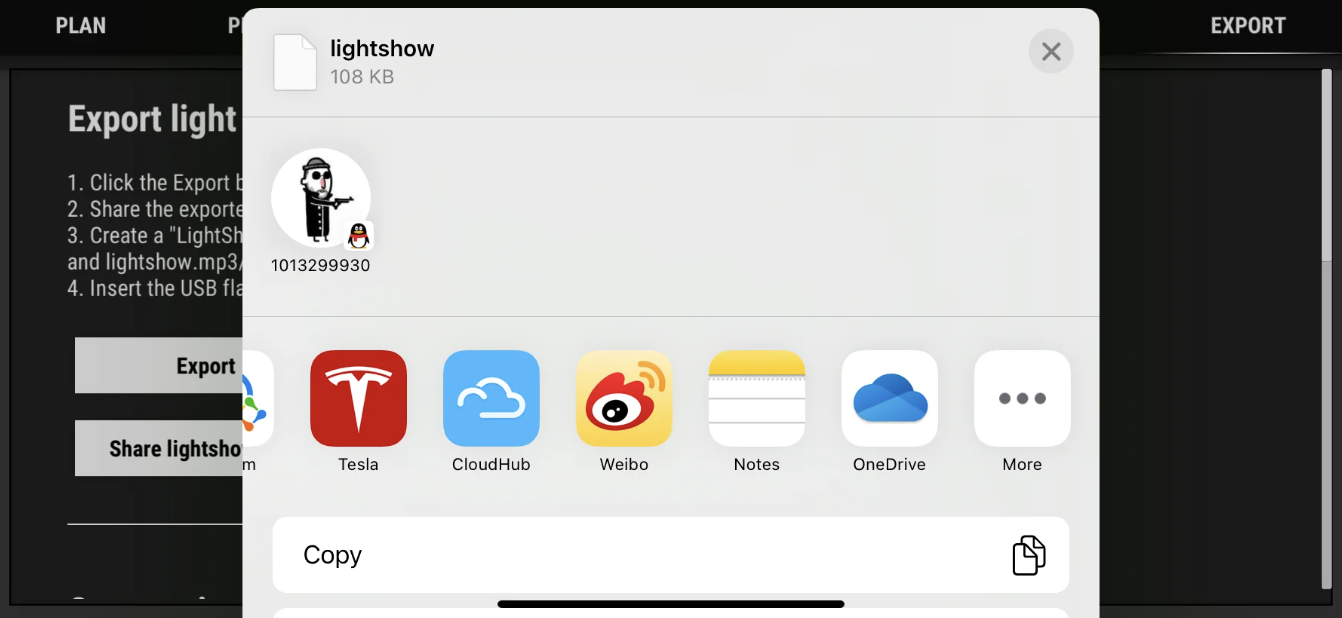
The app also exports the files to the filesystem:
- iOS:
LightShowCreator/export/ - Android:
Downloads/LightShowExport/
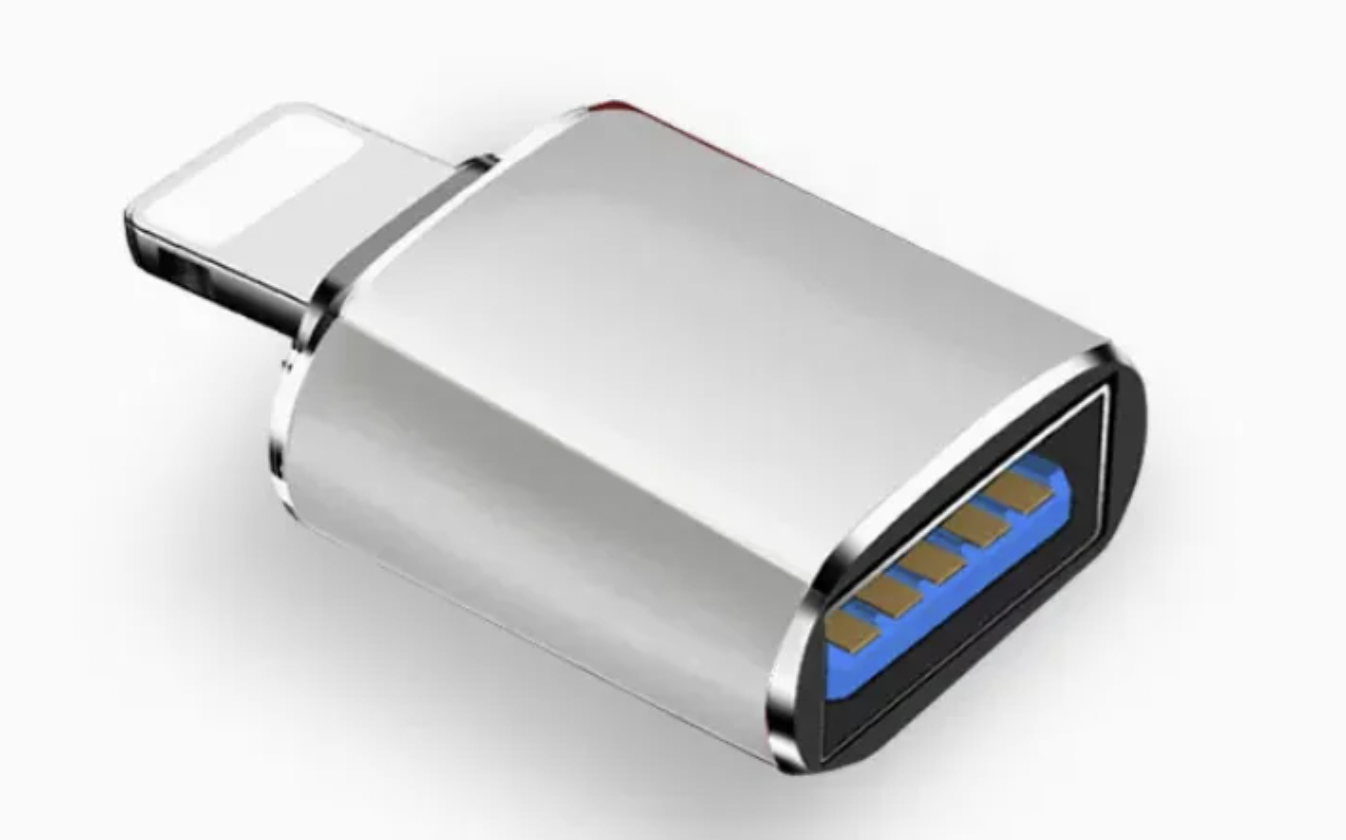
If you want to make shows entirely on your phone, without a computer, I strongly recommend a Lightning-to-USB or USB-C-to-USB adapter like this:
Refine a show in xLights
At the time of this guide, the app did not support fades or window and door controls. For those features, put lightshow.wav or lightshow.mp3, lightshow.fseq, and lightshow.xsq together in one folder on a computer, then open the project in xLights.
Questions and answers
What if the music is too fast to follow in manual mode?
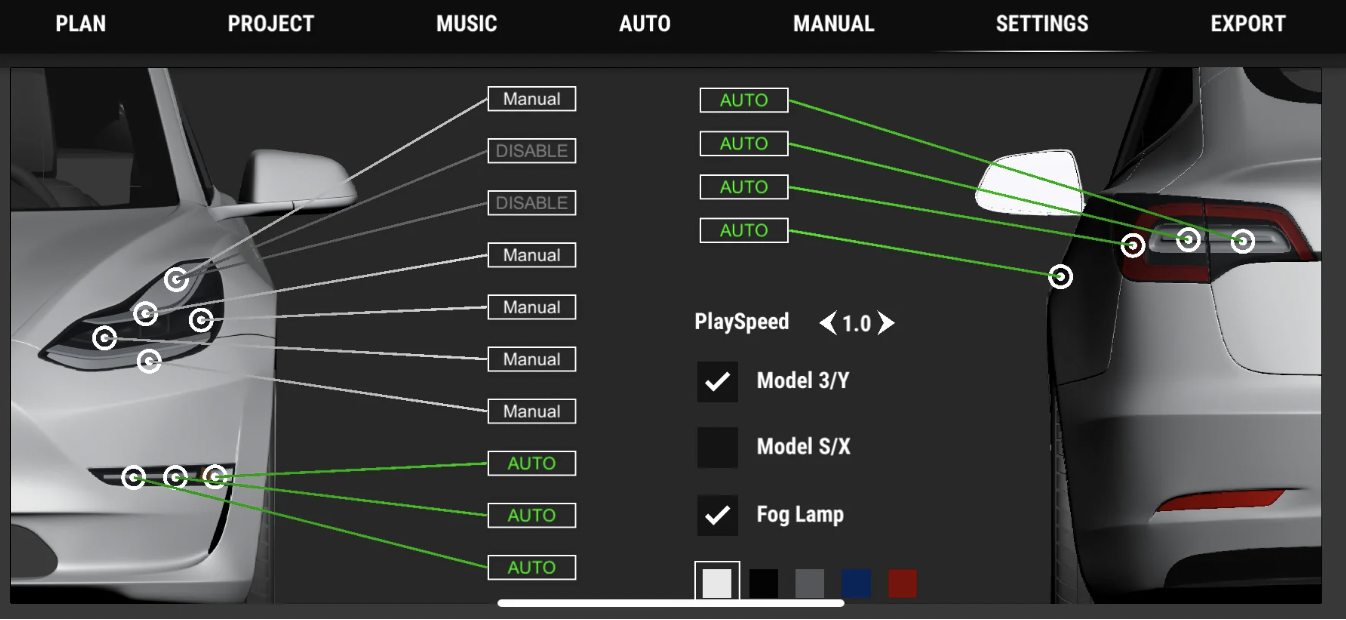
Change the playback speed on the settings page.
Why does the Windows version not support manual mode?
At the time of writing, no Windows update was planned. The Windows version was designed around a different interaction model from the touchscreen-based mobile version.
How can I make coordinated shows for multiple cars?
This was on the roadmap. In the meantime, one suggestion was to split the music into several tracks, create a project for each, and use automatic mode to prepare shows for multiple cars quickly.
Comments
Questions, ideas and experiences are welcome. Please be kind and avoid sharing private information.
Loading comments…